In our community impact project, we had to pick 6 kinds of vegetable seeds to plant since we were going to create our own garden. Also on that day was the day Mrs. Allan started to create some plum jam she picked a small bunch of people to help her make it about the vegetable seeds whilst we had to research about the vegetable seeds that can grow throughout winter. So we did what the teacher had asked us by researching different kinds of vegetables and they had to be vegetables, not fruit nor flowers. In the area, we are planting these vegetable seeds into egg tray first till their sprouts come out of the soil. Then we will take them down to the school garden, The purpose why we are doing this all is to make our garden beautiful and pretty for the school we are trying to improve the school.
You must be wondering what vegetables I had picked well they are:
1. Broad Beans - They can grow through March to the end of July they need to be grown where bees like to pollinate since broad beans need to be pollinated. It takes 18 - 25 weeks till you can harvest them meaning until you can actually eat it.
2. Broccoli - They can grow through February, March, and April it is easy to grow the only thing is to avoid planting it beside beans the dwarf bush bean is fine, don't plant it by climbing pole beans, tomato, peppers - (chili, capsicum), eggplant, and strawberries. Then you can start harvesting them in 10 - 16 weeks.
3. Cauliflower - It takes 3 - 4 months before we can harvest and cauliflowers DO NOT enjoy temperatures over 25 degrees, so make sure you are planting it in the correct time.
4. lettuce - Plants the lettuce at least 20 - 30 cm apart, It can be harvested in 8 - 12 weeks just do not grow them close to celery or parsley.
5. Carrots - You need to plant your carrot 12 - 24 inches apart in rows that 2 to 3 feet apart they can be harvested in 12 - 18 week avoid planting carrots by parni
6. Celery
Friday, May 31, 2019

P.E HURUMANU
Hello everyone, as you know I normally do art for my hurumanu but last week was actually the last week we were going to be doing art well until term 4. So for the rest of term 1 and 2, I will be doing physical education we will blog about this every day when having PE hurumanu. Today was our first-day doing physical education for PE we are doing FBN it means football, basketball, and netball my favorite is netball and basketball. Miss Allan-Fletcher explained how we are also doing math equations which were great since I really like math, she also explained some rules of what we have to make sure we follow. Today we focused on football in football our goal was to trap the ball since she realized we normally just kick the ball to random places. Also that we should trap it so we can take proper control of the ball and actually pass it to our team members, some of us students got really confused we didn't know what trapping was so she explained. Miss Allan-Fletcher used to be a coach of a football team so she knows a lot about football, she told us that trapping is where you stop the ball with the soul of your foot there are 4 more ways that you need to find out. If we trap the ball we will be able to have more control over the ball and kick it to our teammates then it was time for us to try it out ourselves. We had to get in teams of 4 in my team was Lhysette, Shiela, and Megan, we had to go into the old gym for this exercise. We had to create a square the goal was to trap the ball and make sure we have control of the ball. We were struggling a bit since some of us would either kick the ball too hard or kick the ball to lightly and even kick the ball in a different direction from us. Overall it was really fun to learn to trap and play sport with my friends.
In this session I have learned a lot and would use it in the future since both my uncles and my dad are football players and we like to bond by playing football sometimes we would get hurt but it would also be really fun.
In this session I have learned a lot and would use it in the future since both my uncles and my dad are football players and we like to bond by playing football sometimes we would get hurt but it would also be really fun.
P.E HURUMANU - Create your own game
For P.E we had just ended our first topic which was to create our own game which had to include things about football, netball, and basketball. The name of our game was called D.N ball it was a combination of Dodgeball and Netball after we planned our game and rules and other game needs. We needed to make sure all of it made sense so when another group reads it they can understand and actually play the game without our help. After all that editing we were able to get into physical action we were told we needed to find another group and try to learn their game, with their instructions without their help It was a little bit frustrating but we got through it then when they played our game without us helping them was easy they did not understand some so we changed a bit and we got through it.
What worked well? -
Is that they got a hang of the game was able to play it properly because at the start it was a bit confusing since it was only like rules then we started to understand and they played it nicely.
What didn't work well? -
Is that they thought it was ball tag which it was like but not entirely because we twisted some of the rules and how you play it, I think it was because that is what the game was similar to.
What would you change and why? -
I think we should change up the rules and adjust it more so it wasn't so similar to ball tag.
What worked well? -
Is that they got a hang of the game was able to play it properly because at the start it was a bit confusing since it was only like rules then we started to understand and they played it nicely.
What didn't work well? -
Is that they thought it was ball tag which it was like but not entirely because we twisted some of the rules and how you play it, I think it was because that is what the game was similar to.
What would you change and why? -
I think we should change up the rules and adjust it more so it wasn't so similar to ball tag.
(D.N Ball)
Written by: Rieya
Object |
There will be 5 taggers there will be another group with no taggers the point is that the tagger must try to tag everyone in the other group if you count on yourself you are allowed to run with the ball and try to tag everyone else. The best way is teamwork with using teamwork you can pass the ball to other taggers which are closer to your targets, which is the other group you need to throw the ball at the targets it must be below the legs. When you the tagger had tagged someone you need to shoot hoops with the person they had tagged and whoever shot the hoop first is the winner and they are tagger and stay in the game the loser sits out.
|
Players |
28 as the most and the least is 15 also there needs to be at least 5 taggers.
|
Equipment |
1 Dodgeball, 4 cones,
|
Scoring |
For scoring you need to tag another player from the other team when you do you both have to shoot hoops whoever lost is out the and the winner the person you shot a goal first and is now the tagger. Also if some people are far away you are not allowed to move but you are allowed to dribble to get closer or pass to another tagger that is close to most of the the people.
|
Winning |
If everyone is out and it is only the 5 taggers left they need to verse each other and you need to see you last person is standing.
|
Rules |
No teaming
Don’t throw the ball hard
No passing the boundaries
You can use trick shot to shoot the hoops
No rough play
Follow the rules
Below waist aiming
No kicking the ball
Do not intentionally throw the ball to someone.
|
Friday, March 29, 2019
Feet
The feet can measure the height.
THE FEET CAN MEASURE THE HEIGHT
The bones of the feet can tell a lot about a person. What do feet reveal about a person's height? Forensic anthropologists team up with law enforcers to help solve crimes.
Bones of the feet can reveal an interesting fact about an individual. Let's combine math with forensics to see how.
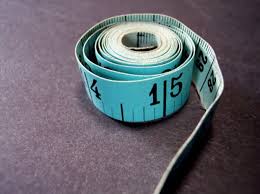
Aim: To use forensic science techniques to measure the height of a criminal.
Materials:
- Rulers (for height and foot size in cm and metres)
- A marker
- Chromebook
- Whiteboard/something to measure on
Steps:
- Measure your height in centimetres with ruler
- After you measure feet in centimetres with a ruler as well
- Write down what you got in the chart
- Divide you foot size with your height then times it by 100 in one equation
- Write the answer downhe answer down
Findings:
Name
|
Foot (cm)
|
Height (cm)
|
Skyler
|
20
|
147.5
|
Shiela
|
22
|
158.5
|
Lhysette
|
19
|
143 cm
|
Rieya
|
23
|
147 cm
|
Divide the length of each person's foot by his/her height. then multiply it by 100.
Skyler = 13.5
Shiela = 13.8
Lhysette = 13.2
Rieya = 15.6
Home Chemistry -Forgeries
Hello everyone!
Today for science we were doing forgery so so far this has been amazing thanks to Mr. Palmer and Whaea Joe. Lately, we have been doing science based on detective kind of things like forgery and forensics they are actually really fun and you can even do it at home. This week is probably the last week to earn a science badge and I am trying my hardest to achieve that. So I hope you learn a lot of information from this blog post about forgery.
Graphologists are forensic experts who look at handwriting.

Many things can be forged: art works, money, writing, etc
Forgery link
Aim: To Analyse a signature using forensic science.
Material:
A pen / pencil
Tracing Paper
Writing paper
A ruler

A. Top Of Letter Analysis
1. Sign your name on a sheet of writing paper and get someone else to try to copy it.
2. Place the tracing paper over both signatures and make a dot at the top point of each letter – for both signatures.
3. Join up the dots for both signatures to get two zigzag lines across the signatures. Are the lines the same?
B. Bottom of Letter Analysis
1. Put some fresh tracing paper over both signatures.
2. Put a dot at the bottom of each letter.
3. Join up the dots to make zig zag lines. Are the lines the same?
C. Slant Analysis
1. Put a fresh piece of tracing paper over both signatures.
2. Mark a vertical line down through the middle of each letter (using a ruler), slanting it in the same direction as
the letter.
3. Compare the set of lines for both signatures.
What do they tell you.
Findings:
You
|
Friend
| |
Top Letter Analysis
Are the lines the same? | Yes, I can actually tell that it's my name when I compare it. | When I did my friends signature I couldn't really understand it then after when I compared them I could not tell. They must've just not done the dots properly. |
Bottom Letter Analysis
Are the lines the same? | Kind of but not entirely but when I compared them it was understandable. | Yes, I could it was good placing so then I could understand it. |
Slant Analysis
What are the slants telling you? | It is telling me that there are 5 lines meaning there are 5 letters and also it is kind of following the zigzags. | There are 6 lines probably because I saw more different letters and my friend did not do my signature the same. |
Conclusion:
I loved today's science it was about forgery! It is where we have to try to tell the person's personality is. This was really fun since I have never done this before and since I am able to do it at home I can totally do itwith my siblings. All we had to do was trace and draw and things like that if you want to try it for yourself look at my instruction I am sure it will help:)
Activity : Get someone to try to forge your signature and then try both of these methods to analyse it.
Write up the findings based on the following questions.
Activity : Get someone to try to forge your signature and then try both of these methods to analyse it.
Write up the findings based on the following questions.
Writing analysis of a friends forgery.
The size of the letters – all big, all small, mixed?
| |
Where they dot the ’ i ‘– over the top or off to the left or off to the right, or not at
all
| |
How they cross their t – straight, angled up or down, where on the t stroke it
is crossed
| |
The slant of the letters (use a ruler) – forward, backward, upright, mixed
| |
Are there breaks in words, or are all the letters in the words joined up
| |
The length of stalks on y, q, p, below the lines – long or short
|
Tuesday, March 26, 2019
Forensics
Forensics
1. What is the definition of forensic science?
Forensic is an application of scientific methods to investigate a crime
2. Name 5 different kinds of activities used in forensic sciences and find a picture for each.
Investigating -
DNA -
Fingerprints -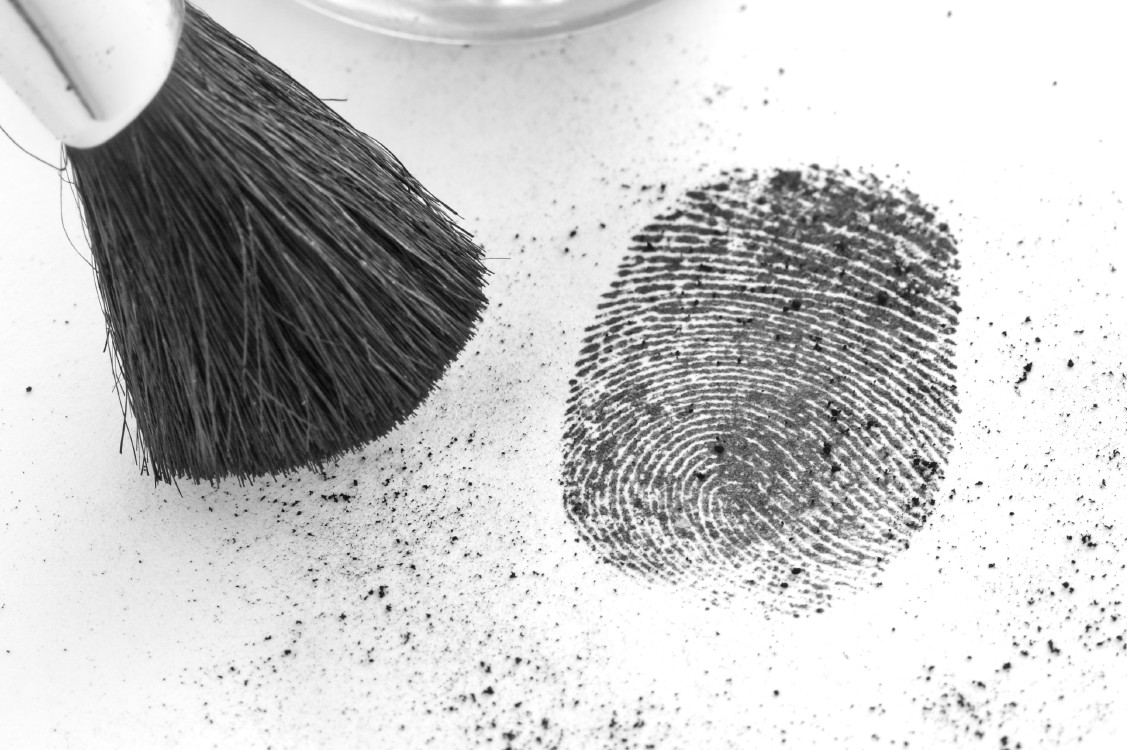
Footprints -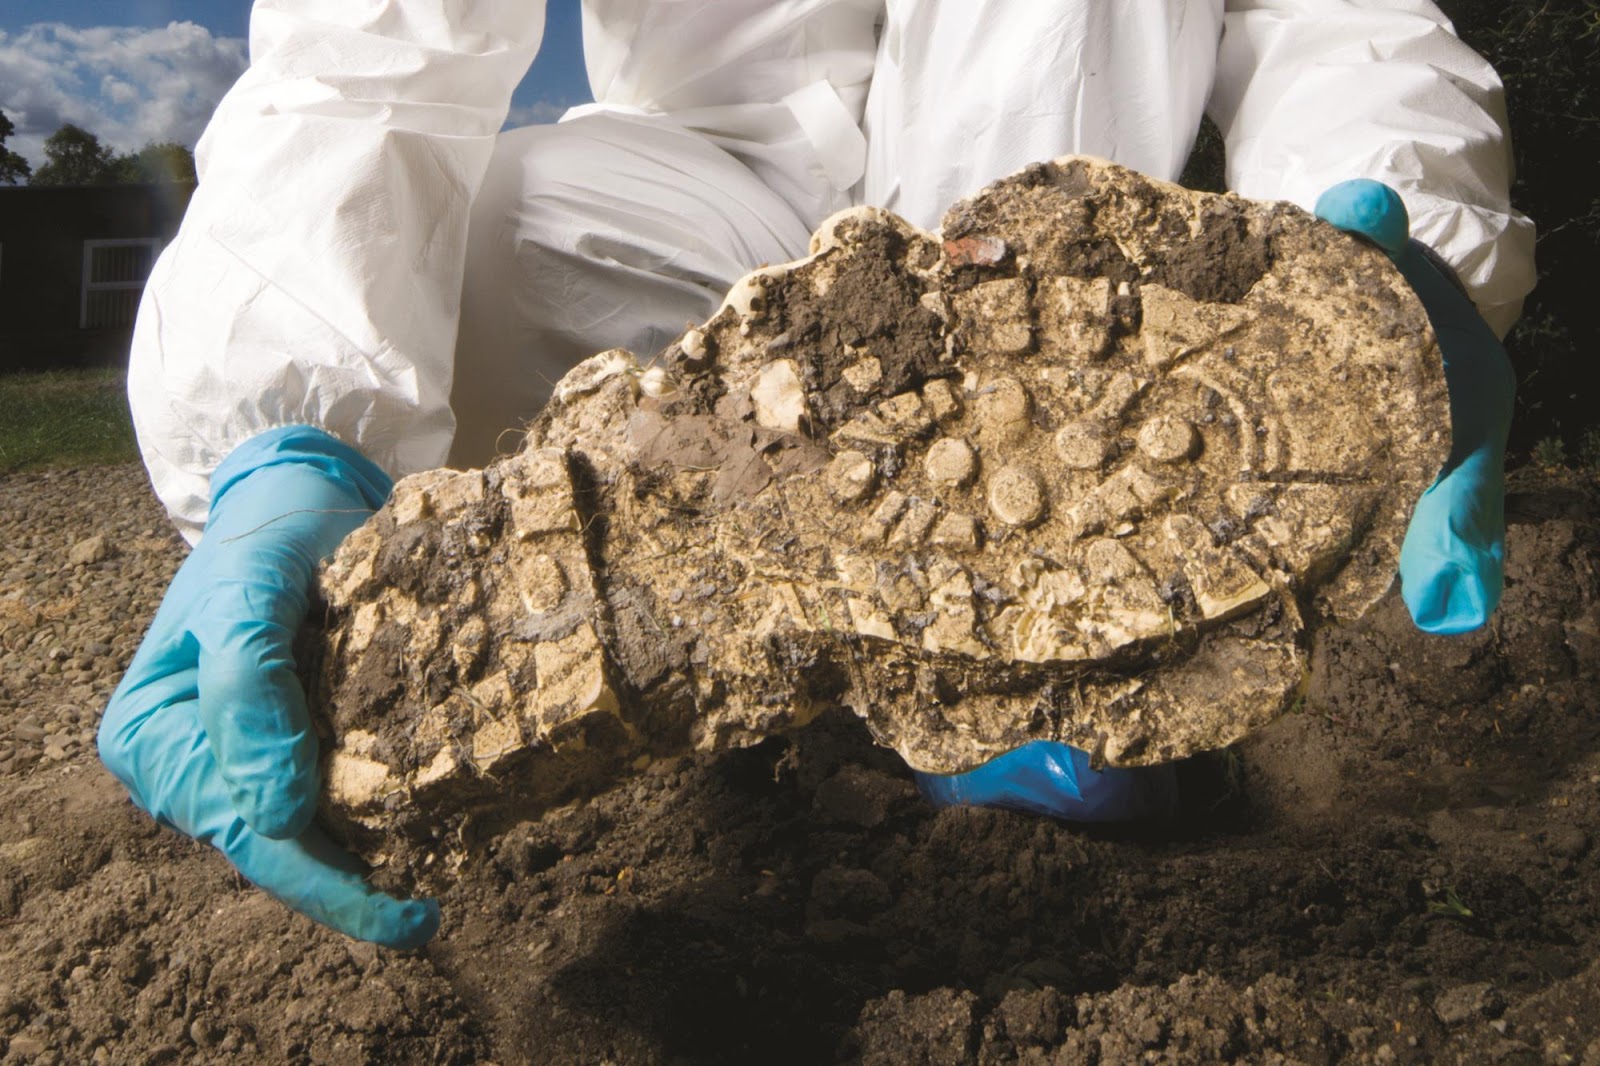
White powder -
3. Name 5 jobs that would use forensics to investigate crime
- Crime scene investigator
- Forensic engineer
- Chemist
- Documents examiner
- Science technician photographer
Fingerprints
Aim: To look at the different types of fingerprints.
Material:
- Balloon
- Inkpad
- Finger
- Magnifying glass
- Wipes
Steps
- Get ink pad
- Get Balloon (any colour except dark colours)
- Wipe finger with wet wipe till clean
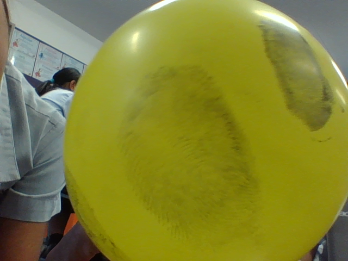
- Press thumb on ink pad for only 2 seconds
- Quickly take your finger off the ink pad and place on the balloon while deflated
- Press your thumb on the balloon hard for 3 - 5 seconds (do not move your finger)
- Take your thumb off then inflate the balloon slightly not too small, not too big ( when dry )
- Look at you thumbprint with a magnifying glass to see what pattern you have
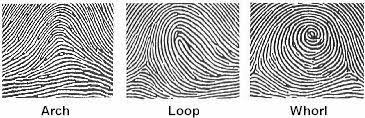
Record the types of fingerprints from those in your group.
Name
|
Fingerprint 1 ( Thumb)
|
Fingerprint 2 (finger)
|
Skyler
|
Loop
|
Index finger - Loop
|
Lhysette
|
Loop
|
Index finger - Loop
|
Rieya
|
Loop
|
Ring finger - Whorl
|
Summary of findings:
Today our first experiment was easy and short all we had to do was find out what print pattern we have on our finger. We used ink and placed it on a balloon and blew it up to see what they would look like. I was really fun to do some investigation things and trying to do it ourselves when I see it on tv.
Hidden fingerprints:
Aim: To learn how to lift hidden fingerprints from an object.
1. Lifting and Gathering fingerprints.
Equipment:
- Brush
- Plastic file
- Finger
- Tape
- Magnifying Glass
- Powder
Method;
- First use a brush to put a thin layer of white powder on your finger
- Place your finger on a card or a desk any platform you have.
- Hold there only for 2 seconds at the max
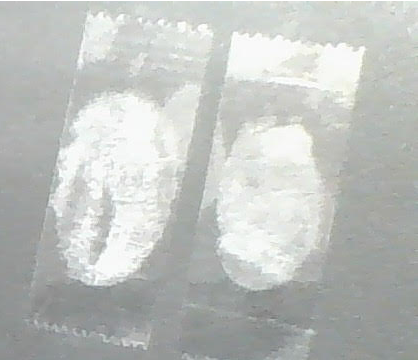
- Then get some tape then place it on top of where the fingerprint is
- Take the tape off and analyze it with a magnifying glass
- Take a photo if you want it to last longer
Subscribe to:
Posts (Atom)